Why Inspecting Dryer Vent Installations Is Essential
A thorough inspection of your dryer vent system protects your home from fire hazards, moisture damage, wasted energy, and premature appliance wear. In Readington, New Jersey, where seasonal shifts can aggravate airflow challenges and exterior terminations must contend with wind, leaves, and freezing temperatures, a detailed inspection checklist ensures your installation remains safe and efficient. Whether you just completed a new install or are evaluating an older setup, this step-by-step checklist will help you verify performance and identify corrections. If you are preparing to build, remodel, or sell, it also provides a helpful framework for documentation and maintenance planning. As you review each section, remember that a successful inspection balances safety, workmanship, and practicality—key ingredients for a dependable dryer vent inspection checklist tailored to Readington conditions.
Use the following categories to organize your evaluation: route and length, materials, joints and sealing, support and slope, termination quality, appliance connection, airflow testing, and maintenance readiness. Address any deficiencies promptly to keep your dryer vent system operating at peak performance.
Checklist: Route and Effective Length
- Shortest reasonable path: Confirm the route minimizes distance from the dryer to the exterior.
- Elbow minimization: Count elbows; reduce where possible or use gentler turns.
- No concealed terminations: Verify the duct discharges outdoors—never into attics, crawlspaces, or garages.
- Accessibility: Ensure segments are serviceable for cleaning and future inspection.
Document the total effective length, accounting for each elbow. Comparing this figure to your dryer’s specifications is central to a pass/fail judgment.
Checklist: Approved Materials
- Rigid metal ducting: Confirm the main run uses smooth, rigid aluminum or galvanized steel.
- UL-listed transition: Check that any flexible connector at the dryer is short, straight, and listed for the purpose.
- Correct diameter: Match the dryer outlet size; avoid reductions that increase resistance.
- No plastic flex: Ensure no plastic or fabric-style ducting is present.
Materials determine long-term safety. Noncompliant ducts trap lint, overheat, and invite failures.
Checklist: Joints, Sealing, and Fastening
- Airflow direction: Verify male ends point toward the exterior to minimize lint catch points.
- Sealed joints: Look for continuous metal foil HVAC tape on all seams; no gaps or loose fittings.
- No screws in airstream: Protruding fasteners snag lint; use proper crimping and listed connectors.
- Visible joints: Keep as many joints accessible as practical for service.
Run your hand near joints with the dryer operating to feel for leaks. Even small leaks reduce airflow and can deposit lint and moisture in wall cavities.
Checklist: Support and Slope
- Regular supports: Long horizontal runs should be strapped to prevent sagging.
- No dips or bellies: Eliminate low points where lint and condensation collect.
- Steady alignment: Ensure a straight, true path that avoids friction points.
Good support extends the life of the installation and maintains consistent performance through seasonal temperature swings in Readington.
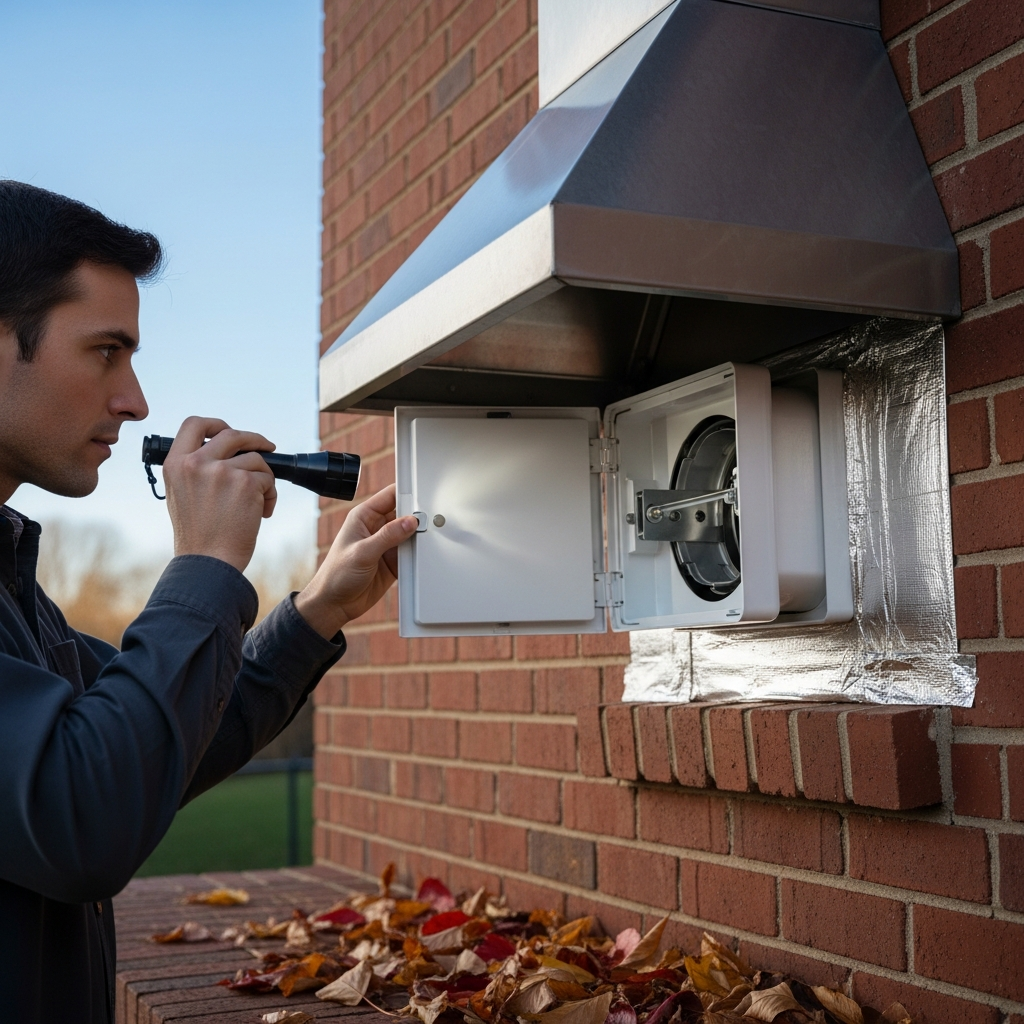
Checklist: Exterior Termination
- Listed hood with damper: Confirm a proper cap that opens freely and closes when the dryer is off.
- No screens: Screens clog with lint and are typically prohibited.
- Clearances: Maintain distance from doors, windows, and air intakes.
- Weather sealing: Check perimeter sealant appropriate for siding or masonry to prevent water intrusion.
- Unobstructed: Keep shrubs, mulch, and decorations from blocking the damper’s swing.
The termination is where many installations fail. In Readington’s windy, leafy seasons, routine checks here are essential.
Checklist: Dryer Connection
- Short, straight transition: The connector should be as short as possible without kinks.
- No crushing behind the dryer: Slide the appliance carefully to avoid flattening the connector.
- Secure clamps: Verify tight, secure connections at both the dryer and rigid duct.
The area behind the dryer is a high-risk zone for unintentional damage. During inspections, gently move the appliance to verify condition.
Checklist: Airflow Testing and Performance
- Damper test: Run the dryer and confirm the exterior damper opens fully and closes smoothly afterward.
- Air velocity: Feel for strong, steady exhaust flow outdoors.
- Drying times: Note cycle duration; extended times may indicate restrictions.
- Heat and odors: Watch for overheating, burning smells, or unusual vibrations.
If performance is marginal, reexamine elbows, joint seating, and potential hidden kinks. Sometimes a small realignment or additional support dramatically improves airflow.
Checklist: Maintenance Readiness
- Access points: Are there locations where tools can reach for cleaning?
- Documentation: Keep a simple record of installation details and cleaning dates.
- Exterior visibility: Is the termination easy to check after storms, leaf fall, or snow?
Readiness ensures your system stays compliant with best practices, not just on day one but over years of service.
Common Red Flags in Readington Homes
- Plastic or fabric-type flex duct used as a permanent run
- Terminations with screens or bird guards that trap lint
- Long, meandering routes with numerous elbows
- Unsupported horizontal runs creating dips
- Loose or unsealed joints leaking lint and moisture
Any of these issues should trigger corrective action. Addressing them promptly lowers fire risk and improves dryer performance immediately.
Inspection Tips for New vs. Existing Installs
New installations: Inspect before walls are closed when possible, documenting concealed runs with photos. Verify that penetrations respect structural members, and that clearances and supports are in place. Existing installations: Approach with curiosity—look for legacy materials, damaged transitions, and evidence of moisture such as staining or musty odors near the laundry area. In both cases, a thorough exterior review is crucial because the termination bears the brunt of weather and debris in Readington.
When to Call a Professional
Call for help if you discover long runs with multiple tight elbows, penetrations through fire-rated assemblies, or any signs of overheating. A pro can measure effective length, redesign routes, and document compliance for home sales or insurance purposes. If your airflow test is weak despite clean filters and visible joints, specialized tools can pinpoint hidden restrictions and verify performance after corrections. For a streamlined evaluation and corrective plan, schedule an inspected dryer vent installation to ensure your system meets expectations and functions reliably through all seasons.
Frequently Asked Questions
Q: How often should I inspect my dryer vent? A: Perform a basic check after seasonal changes—especially after fall leaf drop and winter storms—and plan a comprehensive inspection at least annually.
Q: What is the simplest airflow test I can do? A: With the dryer running, observe the exterior damper. It should open fully with a strong, steady stream of warm air. Weak movement suggests restriction.
Q: Are roof terminations harder to inspect? A: Yes. They require careful, safe access. If roof access is difficult, consider a sidewall termination for serviceability when designing new routes.
Q: Can I add a screen to keep pests out? A: Do not add screens; they clog with lint. Use a listed termination with a built-in damper designed to resist pests.
Q: My dryer runs hot but clothes stay damp. What should I check first? A: Inspect the lint filter, transition connector, and exterior damper. If those are clear, examine elbows and joints for kinks or misalignment.
Keeping Your Readington Home Safe and Efficient
An inspection is more than a checklist—it is your assurance that the system performs as intended. By verifying route, materials, sealing, support, termination, and airflow, you confirm both safety and efficiency. In a community that experiences leafy falls and icy winters, diligence pays off with shorter drying times and peace of mind.
Talk to a Local Specialist for a Reliable Result
If you want a documented, code-aware review with clear recommendations, partner with an experienced team. Book thorough dryer vent installation and inspection so your laundry room runs smoothly and safely in Readington, New Jersey.
