Safe Venting Starts with a Solid Plan
Safe dryer venting is not complicated, but it does require intention at every step. In Readington, New Jersey, where homeowners face humid summers, crisp winters, and a leafy fall season, smart planning prevents moisture problems, lint buildup, and fire hazards. By following a clear sequence—plan, choose materials, prepare the site, assemble the run, connect the dryer, test, and maintain—you establish a system that moves lint and moisture outdoors with minimal resistance. If you are preparing for a new appliance, remodeling, or correcting a legacy setup, these steps will help you deliver safe, efficient results. For homeowners who prefer professional assistance from day one, you can also explore safe dryer vent installation guided by local expertise.
What follows is a practical, Readington-focused sequence you can adapt to different home layouts—from single-story ranches to multi-level colonials and newer builds with central laundry rooms. The goal is consistent: create the shortest, straightest, and smoothest vent path possible, then verify it performs as intended.
Step 1: Map the Shortest Route
Start by locating the dryer outlet and identifying an exterior wall or roof surface where you can terminate. A sidewall exit is typically easier to maintain and inspect in Readington’s climate. Aim to minimize elbows; every bend adds resistance. Draft a simple sketch showing straight segments and any necessary turns, along with measurements for total effective length.
- Prefer wall over roof termination for easy access.
- Avoid routing through attics, garages, or crawlspaces.
- Keep joints accessible for future cleaning when possible.
If the laundry is centrally located, consider whether reorienting the dryer or selecting a different wall bay could shorten the run without major construction.
Step 2: Select Compliant, Durable Materials
Use smooth, rigid metal ducts for the main run. A short, UL-listed transition connector may bridge the dryer outlet to the rigid duct, but keep it as short and straight as possible. Avoid thin foil or plastic flex ducts that trap lint and degrade with heat.
- Rigid aluminum or galvanized steel duct sections
- Adjustable metal elbows with gentle curves
- Exterior hood with a reliable backdraft damper
- Foil HVAC tape for airtight joints
- Support straps to prevent sagging
Match the duct diameter to your dryer’s outlet and follow the manufacturer’s maximum effective length chart, reducing for each elbow you plan to use.
Step 3: Prepare the Workspace
Disconnect the dryer and, for gas models, turn off the gas supply. Protect floors and walls. Mark the planned path on framing, verify stud and utility locations, and confirm there is adequate space for elbows and supports. Outside, choose a termination spot clear of shrubs, shutters, and downspouts so the damper can move freely and lint will not accumulate in crevices.
When penetrating masonry or stone, use a proper core bit and seal the opening with exterior-grade sealant compatible with your facade. For framed walls with siding, a clean, tight fit at the termination collar helps maintain the building envelope against Readington’s weather.
Step 4: Install the Exterior Termination
Drill a pilot hole from the interior to verify alignment. Then cut the full opening, insert the termination hood from outside with a slight downward pitch, anchor it securely, and seal the perimeter. Confirm the damper moves freely and has room to swing fully open during operation.
A robust, listed termination prevents backdrafts and pest entry. Avoid terminations with screens; they clog with lint and undermine safety.
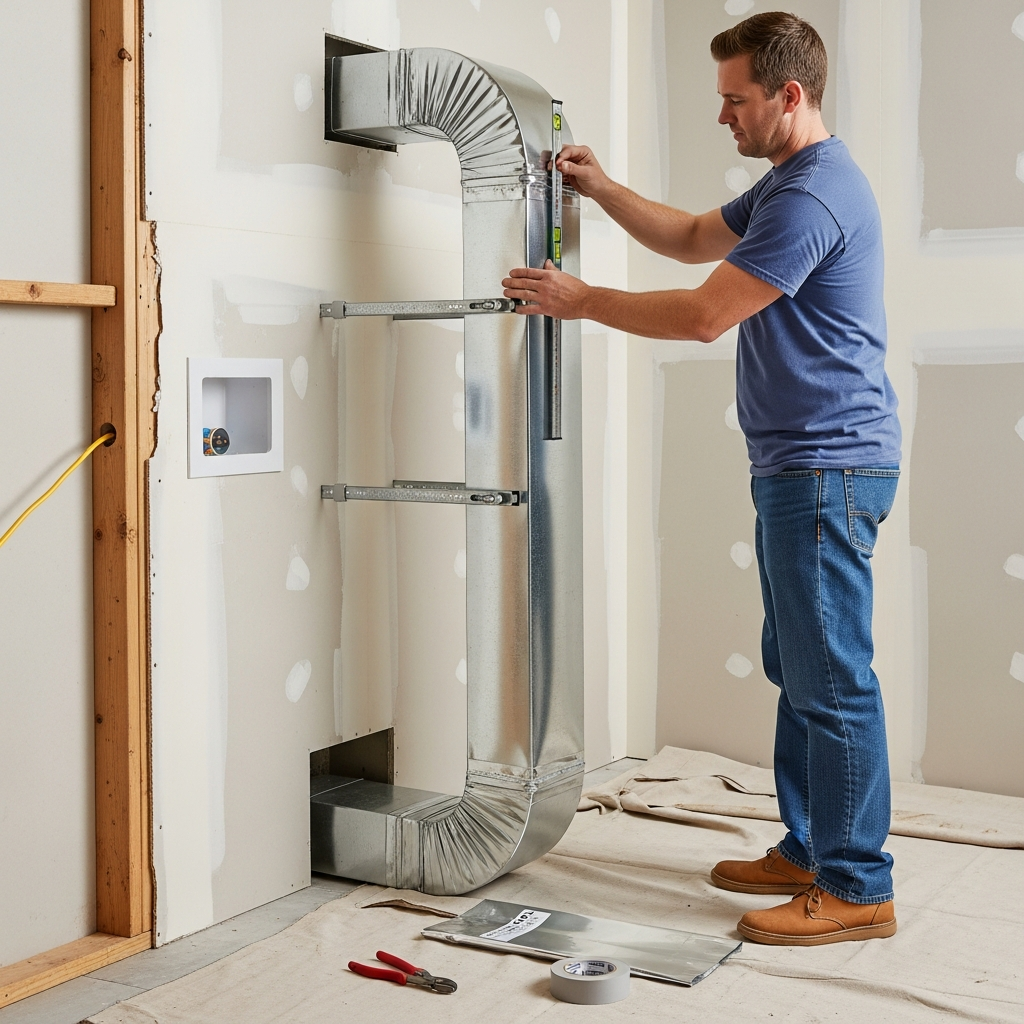
Step 5: Assemble the Interior Duct Run
Dry-fit the rigid duct sections and elbows to achieve the straightest, smoothest path. Orient the crimped male ends toward the exterior so lint cannot easily catch at the joints. Keep elbows to a minimum and prefer gentle radius turns when space allows.
- Measure and cut: Use tin snips and a crimping tool for clean, snug fits.
- Seal every joint: Apply metal foil HVAC tape circumferentially to prevent air leaks.
- Support the run: Strap long spans to prevent dips where lint and condensation collect.
- Keep it accessible: Where possible, design joints that can be reached later for cleaning.
In homes with long horizontal segments, consistent support is critical. Sagging ducts reduce airflow and encourage lint buildup—two issues that lengthen dry times and raise risks.
Step 6: Connect the Dryer
Position the dryer carefully to avoid crushing the transition connector. Use a short, UL-listed transition and keep it straight. Tighten clamps securely at both the dryer outlet and the rigid duct. Slide the unit back gently, checking that the connector remains round and un-kinked.
For gas dryers, restore gas service, check for leaks per manufacturer instructions, and verify proper combustion air in the laundry area.
Step 7: Test Airflow and Operation
Run the dryer on an air or timed cycle and step outside to observe the damper. It should open fully with a strong, steady stream of exhaust. Listen for rattles inside the home—these may indicate loose joints or unsupported sections. Confirm that the dryer does not overheat and that drying times are reasonable for a typical load.
If airflow is subpar, check for hidden kinks, elbows out of position, or joints not fully seated. Review your effective length against the dryer’s manual. For tricky layouts or persistent issues, bring in a specialist to evaluate. When precision matters and you want a validated outcome, consider arranging proper dryer vent installation with testing and documentation.
Step 8: Establish a Maintenance Routine
After a successful installation, set habits that preserve safety and performance. Clean the lint screen before each load. Schedule vent cleaning at least annually, and more frequently for large households or long, elbow-heavy routes. After major weather events or leaf fall in Readington, verify the exterior damper moves freely and that lint has not accumulated on siding or nearby surfaces.
- Watch for longer dry times as an early warning of restriction.
- Keep the area behind the dryer clear of storage that could crush the transition.
- Document cleaning dates and any adjustments you make.
Simple routines go a long way toward keeping the system trouble-free through seasonal changes.
Readington-Specific Tips for Safe Venting
Local conditions shape best practices. In winter, freezing temperatures can stiffen poorly designed dampers and exacerbate condensation at penetrations; a quality termination and good sealing help prevent these issues. In summer, humidity raises the moisture load your dryer must expel—another reason to maintain a short, smooth path. Leafy fall conditions add debris that can impede the damper’s movement; include it in your yardwork inspection routine.
Homes with historic features or thick masonry require extra care during wall penetrations. Seal thoroughly, protect finishes, and ensure the termination sits flush and secure. In newer subdivisions with vinyl siding, choose a hood designed to integrate cleanly with siding profiles and resist wind-driven rain.
Common Mistakes to Avoid
- Using plastic or fabric-style flex duct for the main run
- Overusing elbows and creating sharp, restrictive bends
- Letting ducts sag between supports
- Securing joints with screws that protrude into the airstream
- Adding screens to the termination that trap lint
- Neglecting the final airflow test
Avoiding these pitfalls typically results in shorter drying times and reduced risk of overheating or fire.
Troubleshooting After Installation
If drying takes longer than expected, start with the easy checks: a clean lint filter, a round and un-kinked transition connector, and a freely opening exterior damper. If those look good, reexamine elbows and long spans for dips and consider reconfiguring the route to remove a bend or shorten a segment. Visible lint on siding near the termination can indicate poor damper action or excessive back pressure inside the duct.
Burning smells or excessive heat require immediate attention. Shut down the dryer, disconnect power, and inspect the vent path. Replace any suspect materials with rigid metal, reseat joints, and retest. If the problem persists, consult a pro to measure airflow and identify hidden restrictions.
Frequently Asked Questions
Q: What is the ideal duct material for safe venting? A: Rigid aluminum or galvanized steel with smooth interiors is ideal. Use a short, UL-listed transition connector at the dryer if needed.
Q: How short should the vent be? A: As short as practicable. Follow the manufacturer’s maximum effective length chart and reduce for each elbow you include.
Q: Is roof venting acceptable? A: Yes, but sidewall terminations are generally easier to maintain in Readington and less exposed to ice and wind.
Q: Can I install a screen to keep pests out? A: No. Screens trap lint. Use a listed hood with an integrated backdraft damper designed to deter pests.
Q: How often should I clean the vent? A: At least annually; more often if you notice longer dry times, have a long route, or run frequent loads.
Make Your Next Load Safer and Faster
If you want assurance that each step is completed to a high standard—or you simply prefer a turn-key solution—schedule local dryer vent installation for safe venting and enjoy reliable performance, strong airflow, and peace of mind in your Readington home.
