Introduction: What a Thorough Dryer Vent Inspection Covers
A detailed dryer vent inspection reveals much more than visible lint at the exterior hood. In Readington, New Jersey, where homes vary widely in age and layout, an inspection should assess safety, airflow, material quality, installation practices, and environmental factors that influence performance. Understanding the full inspection process empowers homeowners to catch small issues early and to decide when a professional assessment is wise.
This guide walks through a best-practice inspection from start to finish. Whether you are preparing for a deep clean, evaluating a home you just purchased, or confirming that a recent repair was successful, the process below helps you create a clear picture of your system’s health. If you would like an expert review that includes testing and documentation, consider professional dryer vent cleaning paired with an inspection so you can act on precise findings rather than guesswork.
Before inspecting, unplug the dryer. For gas models, close the gas shutoff valve. Move the appliance gently to avoid damaging flooring and to preserve the integrity of the transition duct and gas line. Good lighting and a vacuum at the ready make it easier to keep lint under control as you examine components.
Exterior Termination Inspection
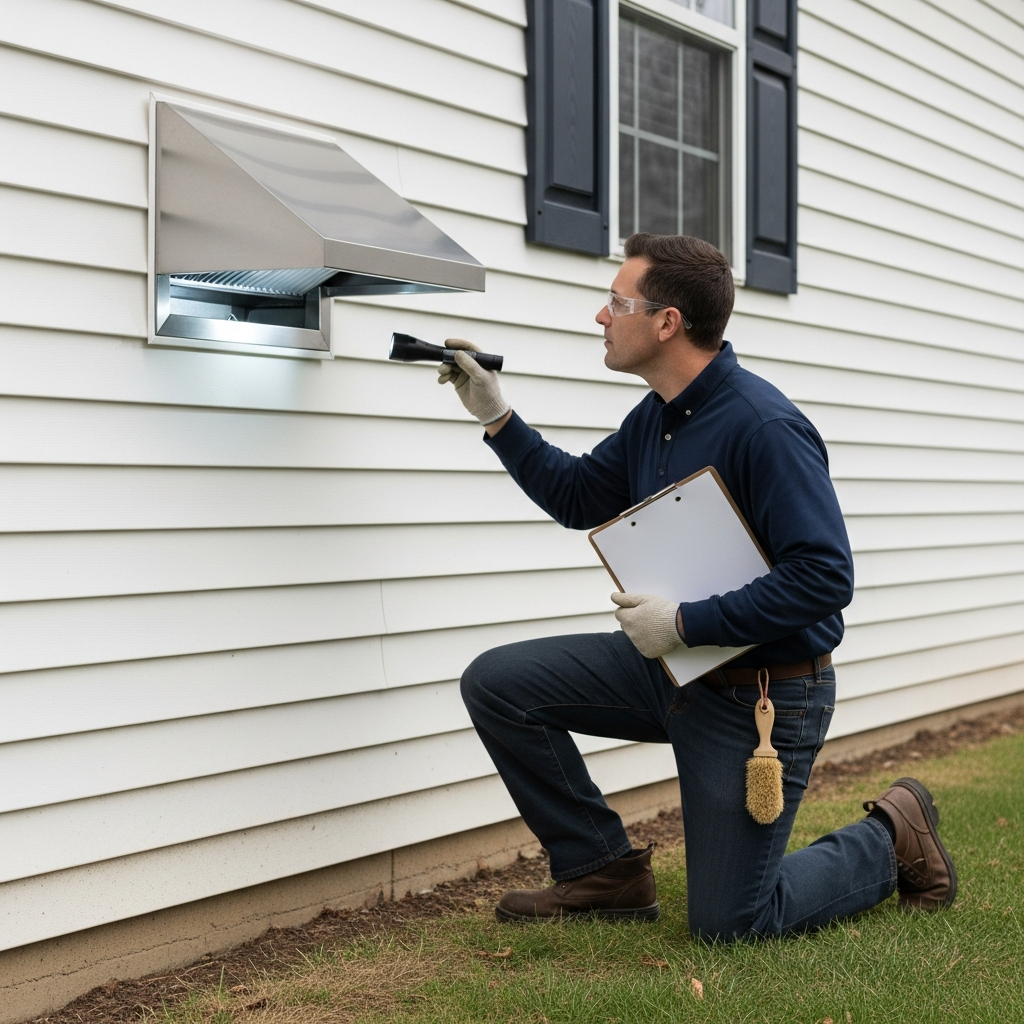
The termination or hood is the first and last place air flows. Start here because blockages frequently begin at the outlet.
- Check for lint buildup on and inside the hood housing
- Verify that the flap opens freely during operation and closes under gravity when off
- Remove any screen or mesh that captures lint and impedes flow
- Inspect for nesting, leaves, and windblown debris common in Readington’s transitional seasons
- Note any corrosion, cracks, or warping that justify a hood replacement
Airflow Verification
Next, evaluate how much air is actually moving through the system. Even a simple qualitative test can reveal restrictions. Run the dryer briefly on an air-fluff setting while standing at the termination; strong airflow that pushes the flap wide open is a good sign. If the flow is weak, pulsating, or accompanied by chattering from the flap, you may have internal obstructions, crushed duct sections, or excessive run length and elbows.
Advanced inspections may include an anemometer to measure air velocity or differential pressure readings across the run. Documenting baseline performance is valuable because you can compare readings after cleaning or repairs and confirm that improvements are real and lasting.
Material and Installation Review
From the exterior, shift your focus to materials and route quality. Use a flashlight to inspect visible sections inside the laundry room, basement, or crawlspace. Confirm that the duct is smooth-walled, metallic, and UL-listed. Plastic and long runs of thin foil accordion-style duct are red flags because they crush easily and trap lint. Note every elbow and estimate the equivalent length to compare with your dryer manufacturer’s specifications.
- Look for screws that penetrate the duct interior at joints
- Identify crushed or sharply bent sections that raise resistance
- Check that joints are sealed with HVAC-rated foil tape, not standard duct tape
- Confirm that the transition duct is rigid or semi-rigid metallic and as short as practical
Dryer Connection and Cabinet Area
Pull the dryer forward and inspect the exhaust outlet and the area around the lint screen. Lint accumulation inside the lint housing can bypass the screen and migrate into the duct. Vacuum this area and the exhaust outlet. Wipe the outlet collar so clamps seat tightly during reassembly. If your dryer model permits safe cabinet access according to the manual, check for lint inside, especially around heating elements and sensors, but avoid disturbing wiring or safety switches.
Obstruction Detection and Problem Areas
Many obstructions occur at elbows—especially the last elbow before the termination or where the duct passes through narrow framing. If your inspection reveals persistent weak airflow despite basic cleaning, consider that there may be a wad of compacted lint in an elbow, a separated joint discharging into a cavity, or a crushed section hidden behind a wall. In these cases, a camera scope or professional assessment may be warranted to avoid unnecessary demolition.
Moisture and Condensation Concerns
Moisture can be as damaging as lint. In cold weather, long exterior runs or ducts passing through unconditioned spaces can condense moisture, which then glues lint to the walls and accelerates buildup. Look for water stains around joints, rust on metallic sections, or damp insulation nearby. Improving insulation on exterior sections or rerouting the duct through a shorter, warmer path can significantly reduce moisture issues.
Documentation and Maintenance Planning
Good inspections end with clear notes. Record the vent route, materials used, number of elbows, estimated equivalent length, and the condition of the termination. Photograph problem spots for future reference. These details make it easy to plan an effective cleaning, order replacement parts, or request accurate quotes for upgrades. Create a maintenance schedule aligned with your household’s laundry volume and Readington’s seasons to prevent problems from returning.
When to Integrate Cleaning With Inspection
It makes sense to combine inspection and cleaning in a single session. After documenting the route and condition, proceed to brush the duct from both ends, vacuum the lint screen housing, service the exterior hood, and replace the transition duct if needed. Afterward, repeat your airflow test to verify improvement. If numbers remain low, you have an immediate clue that a hidden restriction remains or that the run length itself is excessive and needs redesign.
Professional Evaluation: When It Is the Right Choice
Rooftop terminations, concealed elbows behind finished walls, and very long runs can push beyond what a homeowner can safely and efficiently inspect. In such cases, booking professional dryer vent cleaning and inspection brings specialized tools—like video scopes, airflow meters, and smoke pencils—to pinpoint issues quickly. Professionals can also verify code compliance, recommend rerouting to reduce resistance, and replace unsafe components with durable, smooth-walled ducting.
Readington, NJ Factors to Consider During Inspection
Local conditions shape inspection priorities. Wind patterns can rattle loose hoods; accumulated leaves and seed pods can lodge at terminations in spring and autumn; and winter ice can freeze a flap, keeping it partially closed. If your termination is on a shaded or windward wall, inspect it more frequently. In older homes, watch for ad hoc modifications—like long horizontal runs across basements—that were convenient to install but which exceed recommended equivalent lengths.
Frequently Asked Questions
Q: How long does a thorough inspection take? A: For a typical Readington home with an accessible exterior hood and a straightforward run, expect 60 to 90 minutes. Complex routes or roof terminations can extend the time significantly.
Q: Do I need to disassemble the dryer cabinet during inspection? A: Not always. Start with the lint housing and exhaust outlet. Only open the cabinet if the manufacturer’s instructions permit and you are comfortable working near internal components.
Q: Is some lint at the termination normal? A: Yes, a small amount is common. Heavy deposits, matted clumps, or a flap that does not open fully signal a restriction that warrants cleaning and further investigation.
Q: What is the best transition duct? A: Use a rigid or semi-rigid metallic transition duct that is UL-listed. Keep it short and avoid sharp bends. Replace plastic or thin foil versions.
Q: How can I tell if my vent is too long? A: Compare the estimated equivalent length to your dryer manual’s limit. Persistent weak airflow after cleaning is another clue. A professional can provide precise measurements and solutions.
Q: Can I leave a screen over the termination to keep pests out? A: Avoid screens that trap lint. Use a purpose-built dryer hood with a gravity damper to balance pest control and airflow.
From Findings to Action
Inspection is valuable only if it leads to action. Address unsafe materials, replace a damaged hood, seal joints with proper foil tape, and schedule routine cleaning based on laundry volume. Re-test airflow after every change and note the results in your records. Over time, your data will reveal the cleaning interval that keeps performance stable through Readington’s changing weather.
If you want confidence backed by measurements, schedule a visit with qualified help and arrange your next dryer vent cleaning so your inspection findings translate into lasting, verifiable improvements for your home.
