Introduction: A Practical Checklist for Safer, Faster Drying
Keeping your dryer vent clear is one of the most effective ways to protect your home from overheating risks and to restore fast, even drying. In Readington, New Jersey, seasonal humidity, windblown leaves, and winter storms can all contribute to clogged terminations and stubborn lint buildup. A structured checklist turns an occasional chore into a predictable routine, ensuring that nothing important is overlooked and that airflow remains strong throughout the year.
Use this comprehensive guide as your step-by-step companion, whether you are performing a deep clean today or planning regular maintenance for the months ahead. If you prefer to delegate parts of the job or want a full system assessment, local professionals offer targeted services such as dryer vent cleaning, repairs, and termination upgrades to keep your system compliant and efficient.
Before working on your dryer, unplug it from power. For gas models, close the gas valve gently and avoid putting stress on the line as you move the unit. Prepare the area by removing laundry baskets and supplies so you can access the back of the machine without tripping hazards or clutter.
Pre-Cleaning Safety and Setup Checklist
- Confirm power is disconnected and, if applicable, the gas valve is turned off
- Clear a safe, well-lit workspace around the dryer and exterior vent hood
- Lay down protective sheets or towels to catch lint and dust
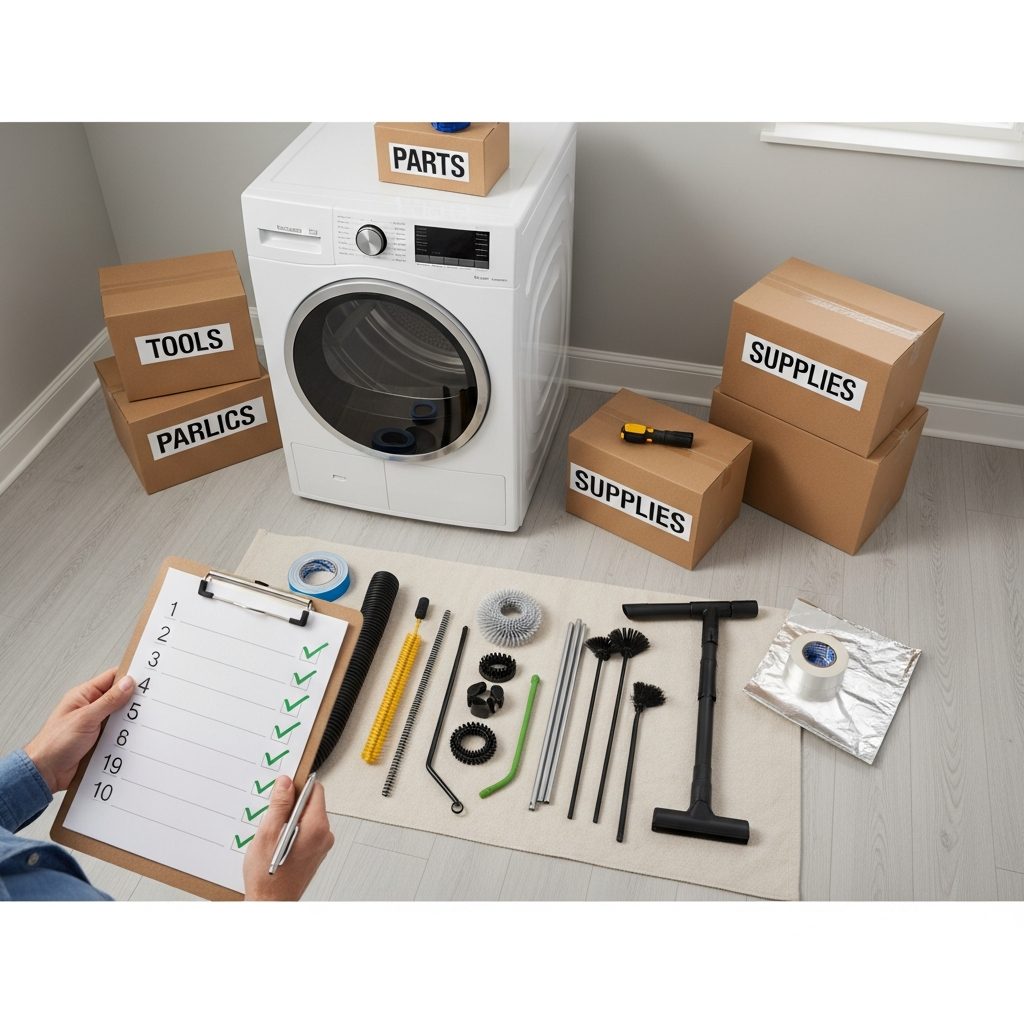
- Gather tools: vent brush kit, vacuum with crevice tools, screwdrivers, foil tape, flashlight
- Identify the vent route from the dryer to the termination so you know entry points
- Check the manufacturer’s manual for any model-specific disassembly guidance
Checklist: Dryer Cabinet and Lint Screen Area
-
Remove the lint screen and vacuum the chute thoroughly. Wipe the screen with a damp cloth to remove detergent film that can reduce airflow through the mesh.
-
Inspect the area under the lint screen for compacted lint and small objects such as coins or buttons that may have fallen inside. Use a flashlight and a narrow crevice tool to reach hidden corners.
-
Examine the dryer’s exhaust outlet at the back of the unit and remove visible debris. Vacuum and wipe the rim to ensure a clean connection point for the transition duct.
Checklist: Transition Duct and Connections
- Loosen clamps and detach the transition duct from both the dryer and the wall connection
- Replace any plastic or foil accordion-style duct with rigid or semi-rigid metallic duct
- Trim metallic duct to the shortest practical length with gentle curves and no kinks
- Attach with worm-gear clamps; avoid screws that penetrate the airstream
- After reassembly, confirm the duct is not crushed when the dryer is moved back
Checklist: Vent Run and Termination
-
Outside the home, remove the vent hood cover or flap if serviceable. Confirm the flap swings freely and closes when the dryer is off.
-
Feed a flexible brush from the termination inward, rotating clockwise to loosen lint. Work slowly and withdraw the brush regularly to vacuum debris before advancing again.
-
From inside, brush outward from the wall connection to remove residual deposits. Alternate brushing and vacuuming to prevent compacting lint at elbows.
-
Inspect for damaged elbows, crushed sections, or separated joints. Seal gaps only with foil tape rated for HVAC use, and replace any sections with excessive denting or corrosion.
-
Reinstall or upgrade the exterior hood. Avoid fine screens that trap lint; use a hood with a gravity flap designed for dryers.
Mid-Project Review: Do You Need Extra Help?
Pause to evaluate what you have found. If the vent path is unusually long, includes multiple concealed elbows, exits on the roof, or shows evidence of overheating, it may be wise to bring in a specialist. Professionals can measure airflow, inspect hidden sections with cameras, and verify that your setup meets manufacturer length limits and local code. If you want a confident, warranty-friendly result, consider scheduling professional dryer vent cleaning to complete the job and document the condition of the system.
Performance Verification Checklist
- Run the dryer on an air-fluff or low-heat cycle and check for robust airflow at the exterior hood
- Confirm the termination flap opens fully and closes when the dryer shuts off
- Listen for unusual rattles or vibration that might signal a misaligned duct
- Check for lint around connections and reseal with HVAC-rated foil tape if needed
- Verify that normal loads now dry faster and that the laundry room does not heat up excessively
Readington, NJ Considerations and Seasonal Tips
Local weather patterns influence how often you should use this checklist. Heavy spring pollen and summer humidity can mix with lint at the hood, while autumn leaves and nesting pests may obstruct the termination. In winter, icing can freeze a flap partly closed. After severe weather, take a moment to verify that the exterior hood is clear and operating freely. Homes with basement laundries often have longer vent runs; if you notice slow drying even after cleaning, discuss rerouting or booster fan options with a professional who understands manufacturer limits and local code.
Household Habits That Support a Cleaner Vent
- Empty the lint screen before every load and wash it periodically with warm water to remove fabric softener residue
- Dry similar fabrics together to prevent excessively long cycles
- Keep the laundry room tidy and vacuum behind the dryer monthly to capture stray lint
- Do not push the dryer all the way back if it crushes the transition duct
- Label a calendar with your next deep-clean target date and exterior hood check reminders
Troubleshooting Checklist: Signs You Missed Something
-
Airflow at the hood feels weak. Recheck for elbows with packed lint or a crushed transition duct. Verify the brush reached the full length of the run.
-
The flap does not open fully. Inspect for a warped hood, sticky hinges, or an internal obstruction at the last elbow before the termination.
-
Clothes are still damp after a normal cycle. Ensure you cleaned the lint screen housing and the dryer’s exhaust port, not just the external duct.
-
The laundry room feels humid or smells musty. Look for disconnected joints that may be venting into the room and reseal with HVAC-rated foil tape.
-
Visible lint collects behind the dryer quickly. Confirm that the transition duct is properly clamped and not leaking at the collar.
Maintenance Frequency for Readington Households
For an average family, plan a deep vent cleaning every six to twelve months, with quicker checks after major storms or long vacation periods when pests might have investigated the hood. Pet hair, heavy cotton usage, and frequent towel loads will increase lint production, so shorten the interval if you notice symptoms returning sooner than expected. Keep a small log near the dryer and record the cleaning date, tools used, and any parts replaced for future reference.
Frequently Asked Questions
Q: How long should a complete cleaning take? A: For a straightforward, short run, plan one to two hours including preparation and cleanup. Complex or rooftop terminations can take longer and may require professional safety equipment.
Q: Can I install a screen on the exterior hood to deter pests? A: Avoid screens that restrict lint. Choose a proper dryer hood with a gravity damper that opens fully during operation and closes when off.
Q: What is the safest transition duct? A: Use UL-listed rigid or semi-rigid metallic transition duct sized to your dryer outlet. Avoid plastic or thin foil accordion-style duct that can crush and trap lint.
Q: Should I use duct tape on joints? A: Standard duct tape dries out and fails. Use only foil tape designed for HVAC applications to maintain a durable, airtight seal.
Q: How do I know if the vent is too long? A: Check your dryer manual for maximum equivalent length and elbow deductions. If airflow remains weak after cleaning, an inspection may reveal the need to reroute or shorten the run.
Q: Is professional service necessary every time? A: Not necessarily. Many homeowners handle annual cleaning themselves. However, complex runs, rooftop exits, or persistent performance issues are good reasons to schedule a professional evaluation.
Putting the Checklist Into Action
With a clear plan and the right tools, you can bring your dryer back to peak performance and reduce risk in a single afternoon. Mark your calendar for the next check, keep your tools together in a labeled bin, and make a quick exterior hood inspection part of your seasonal home routine.
When you want a documented, comprehensive service that includes airflow testing and expert recommendations for your home in Readington, schedule a visit and secure your next dryer vent cleaning so laundry day stays efficient and worry-free.
